The Art of Restoration: The Step-by-Step Process of Repairing Water Damaged Drywall
Mastering Water Damage Drywall Repair: A DIY Guide to Restoring Your Walls
In the tapestry of home maintenance, few issues are as pervasive and insidious as
water damaged drywall. The sight of bulging, discolored walls is not just an aesthetic eyesore; it's a cry for help from your home. Addressing this problem promptly can prevent a myriad of issues, ranging from structural damage to health hazards like mold. If you're seeking to fix water damaged drywall, you've come to the right place. This article will guide you through the process of water damage drywall repair, ensuring your walls are not just fixed, but restored to their former glory.

1. Identifying the Damage
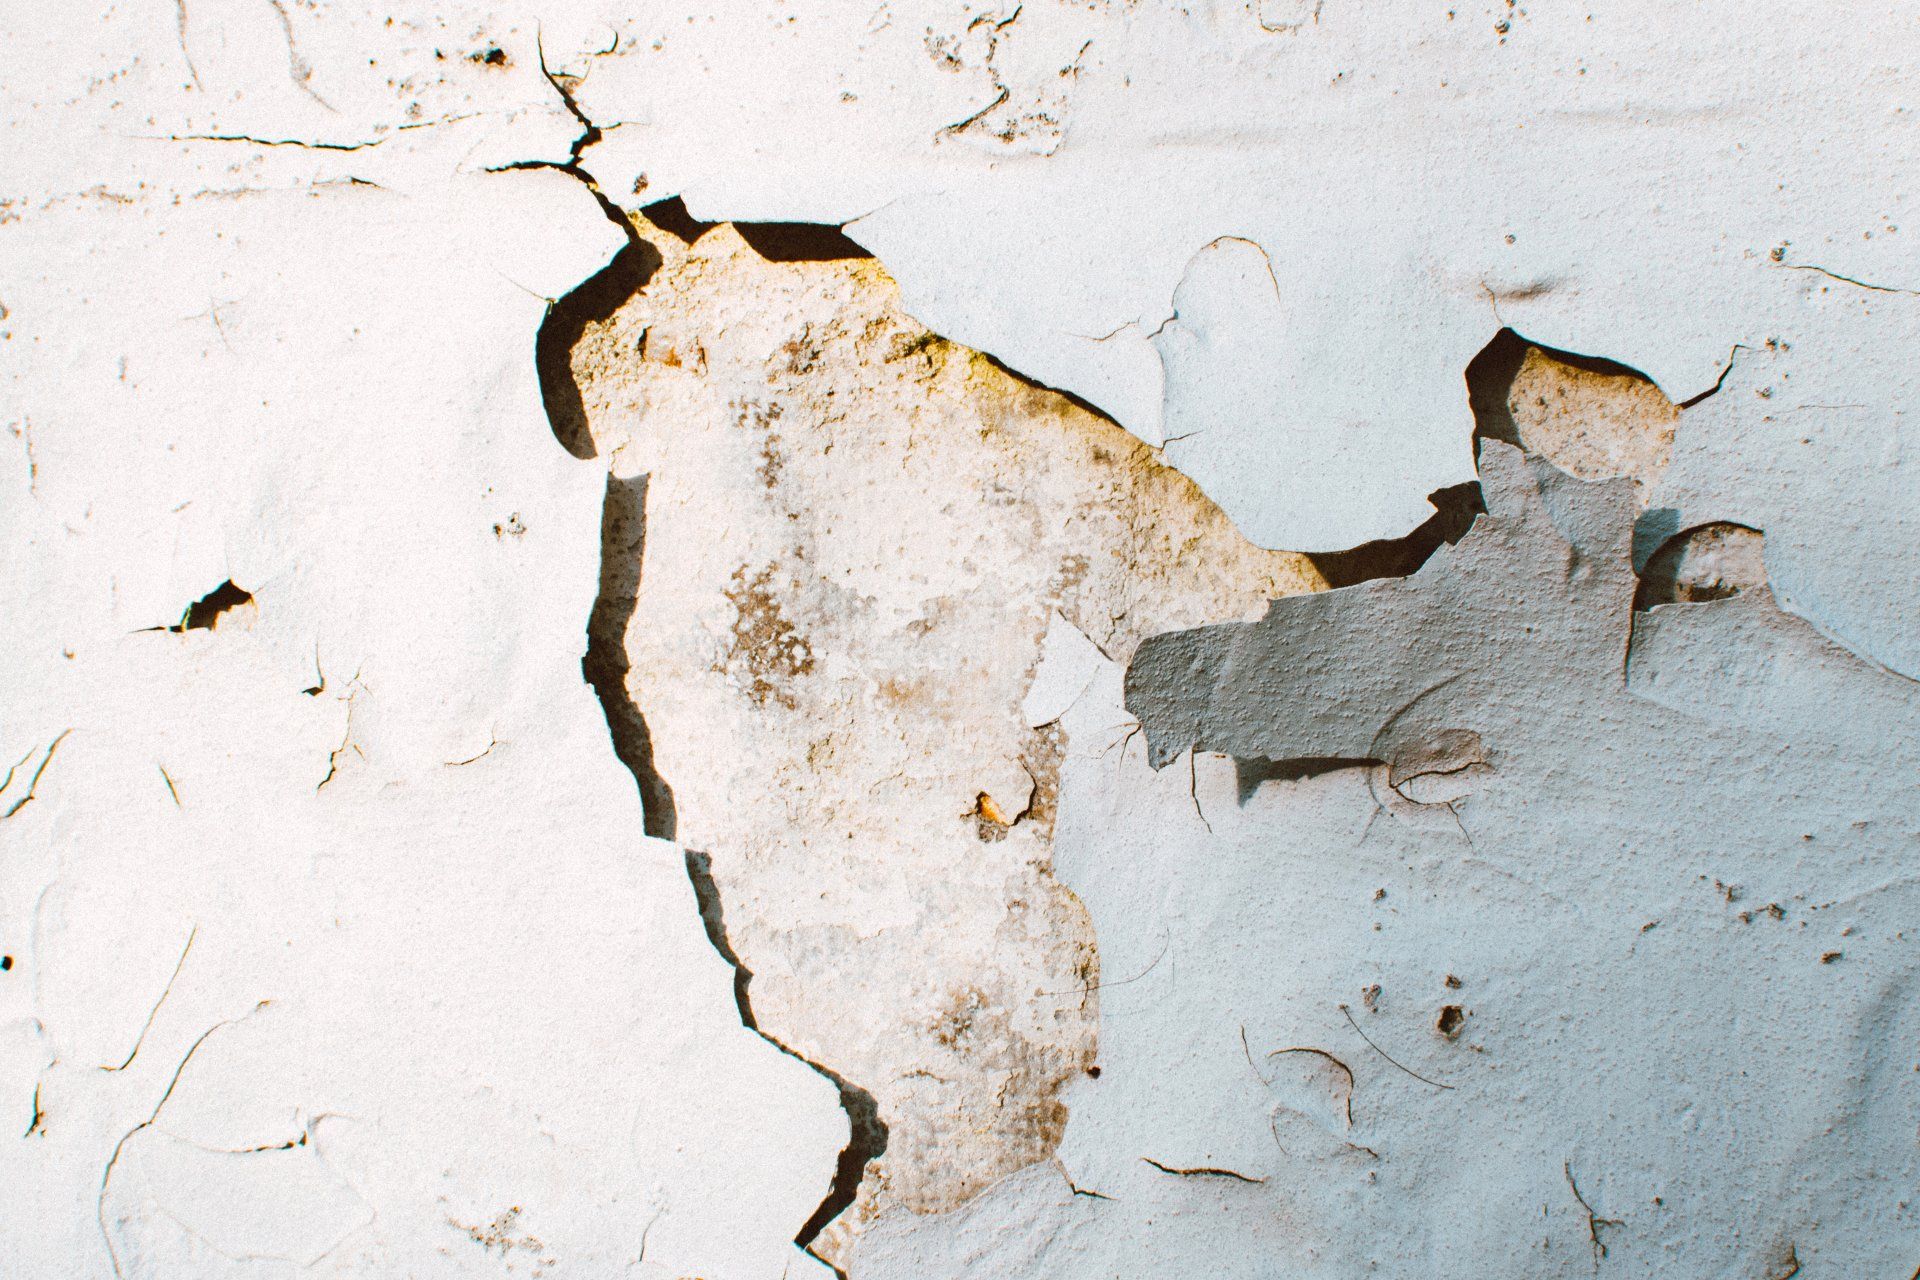
The first step in any water damage restoration project is identifying the extent of the damage. Water damaged drywall often exhibits clear signs such as staining, swelling, and crumbling. If the damage is superficial, you're in luck; the repair process will be straightforward. However, significant damage might require more extensive repairs or even replacement.
2. Stopping the Source of Water
Before any repair work can commence, it's crucial to stop the source of the water. This step is foundational; failing to address it will render any repair work moot as the problem will recur. Whether it's a leaky pipe or a compromised exterior wall, ensure the water source is identified and rectified.
3. Removing Water Damaged Drywall
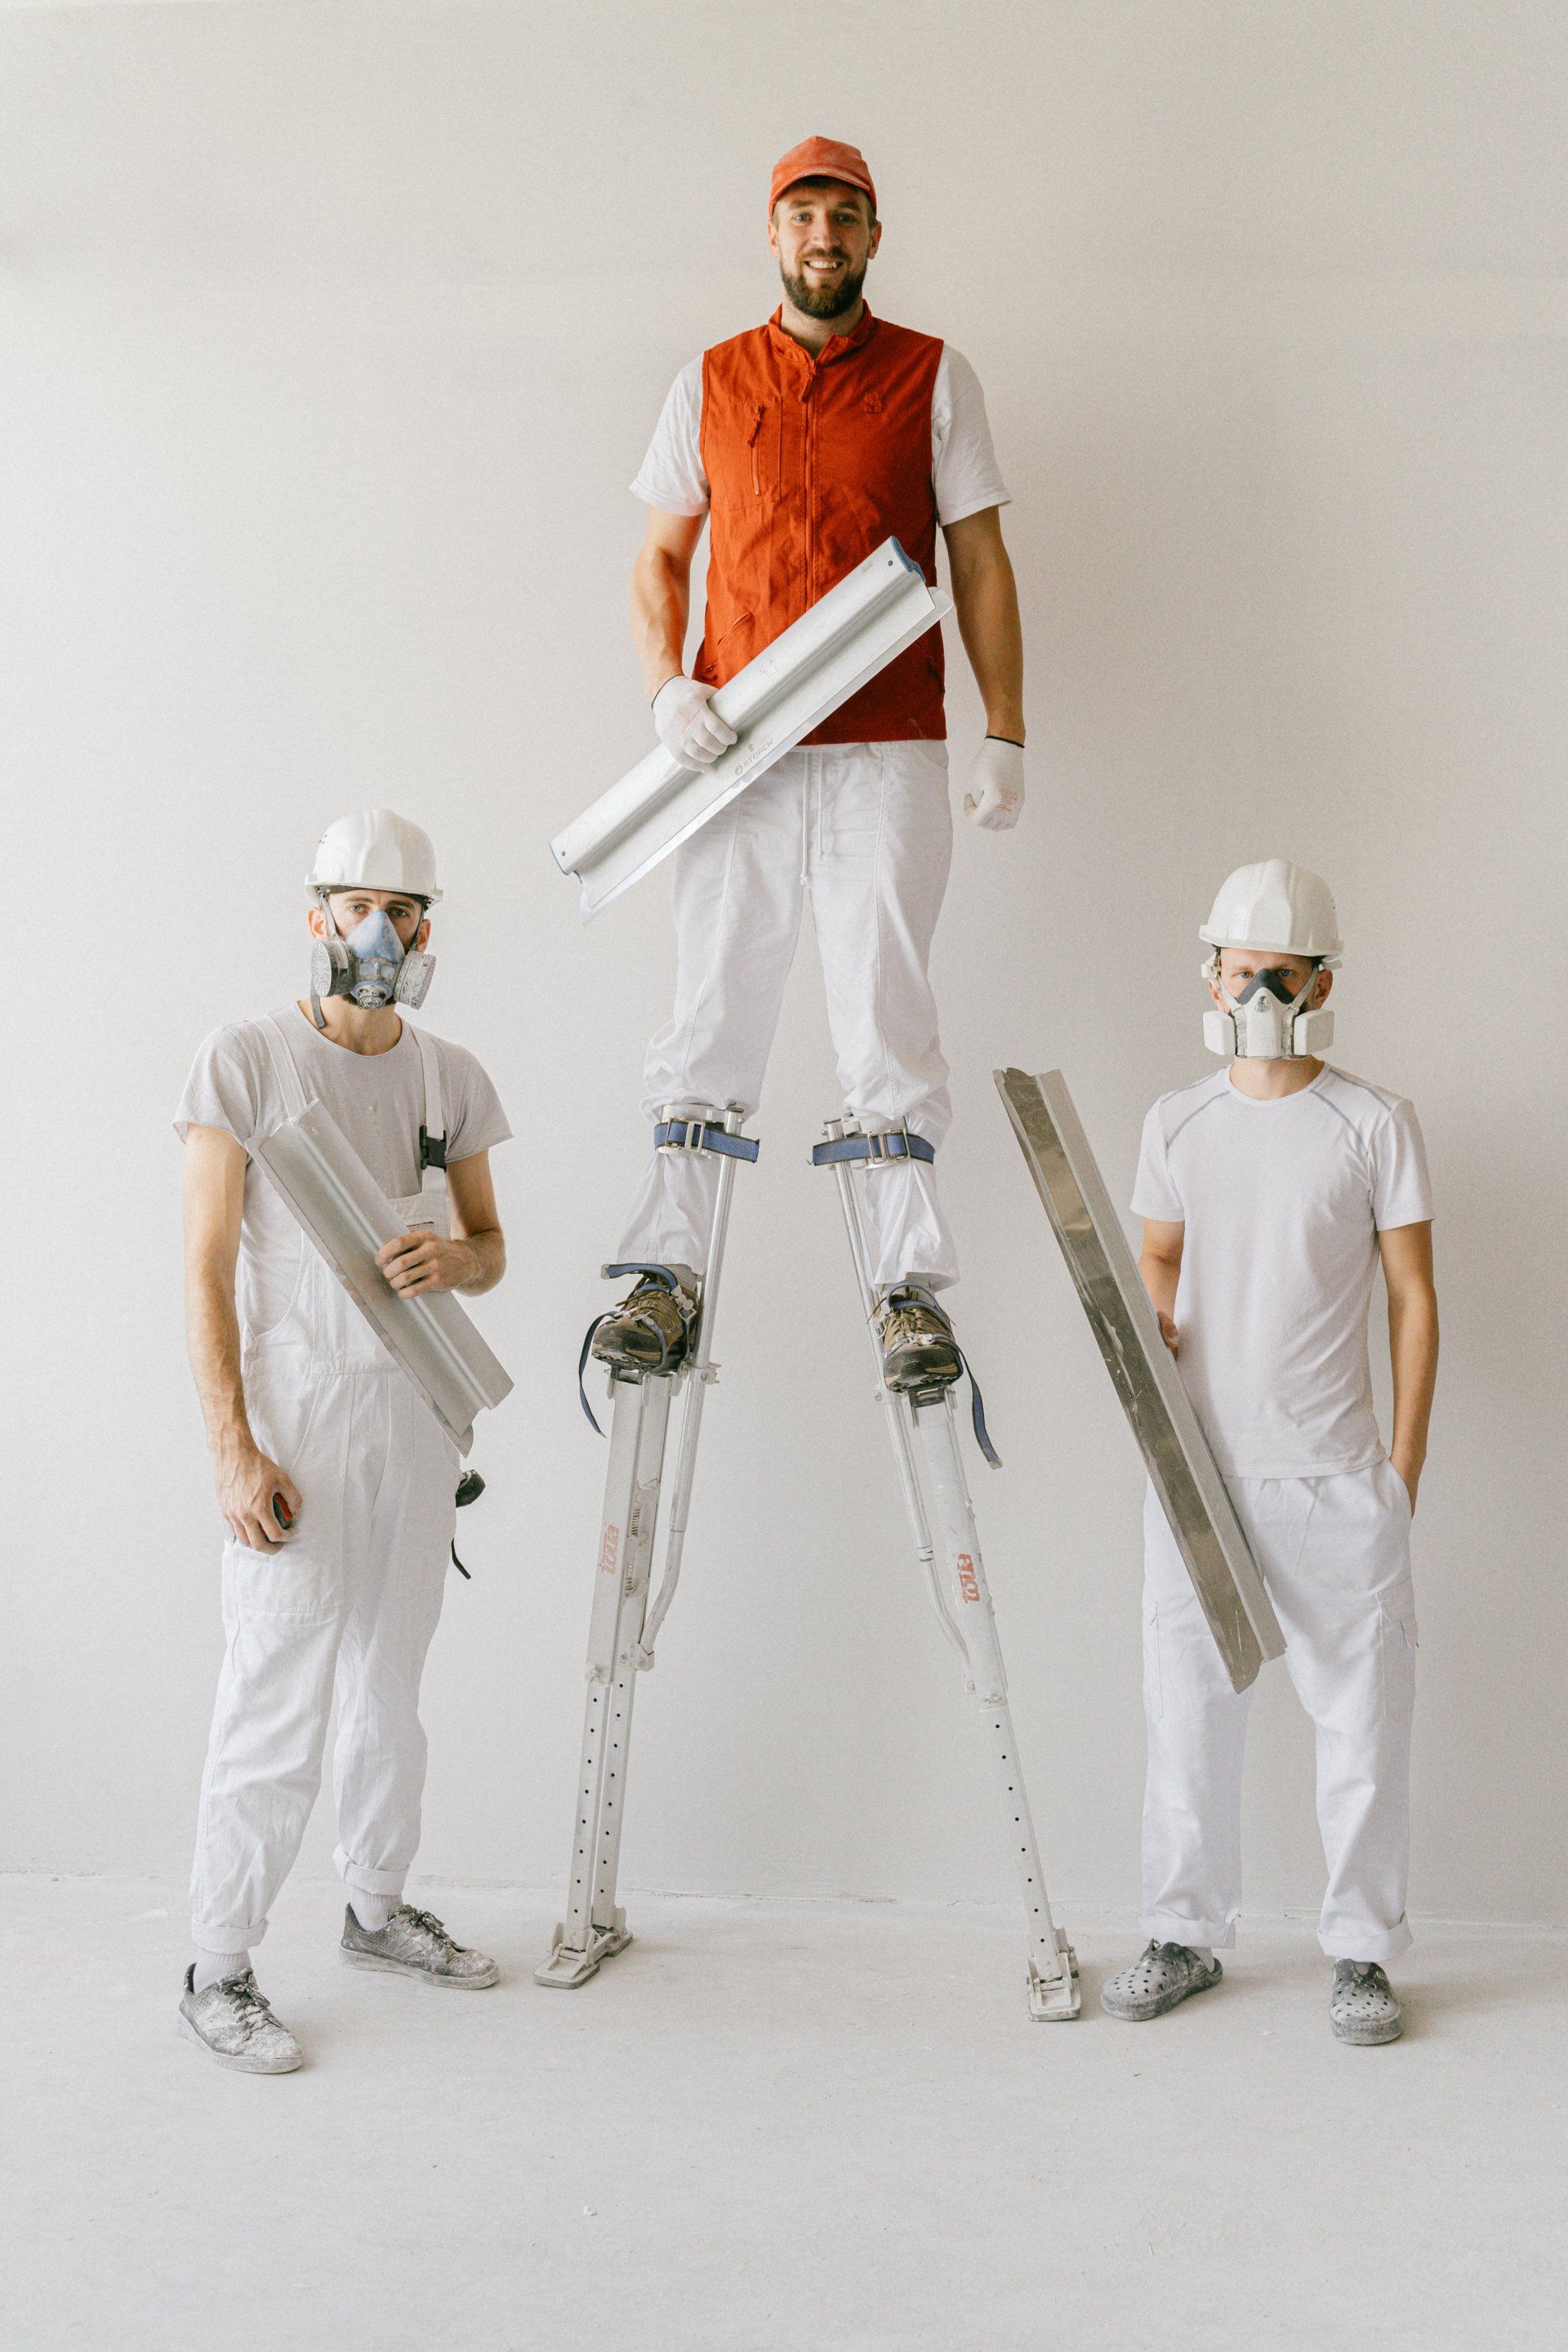
With the area dry and the source of water addressed, the next step is to remove water damaged drywall. This involves carefully cutting out the affected section with precision and care to avoid damaging the surrounding areas that are still in good condition. Safety gear is a must during this process to prevent inhalation of dust or mold spores.
4. Preparing for Patching
Once the damaged drywall is removed, the area needs to be prepared for patching. This includes cleaning and drying the exposed studs and surrounding areas to ensure no moisture remains. Applying a mold-resistant primer can be a wise move here, offering an extra layer of protection against potential mold growth.
5. Patching Water Damaged Drywall
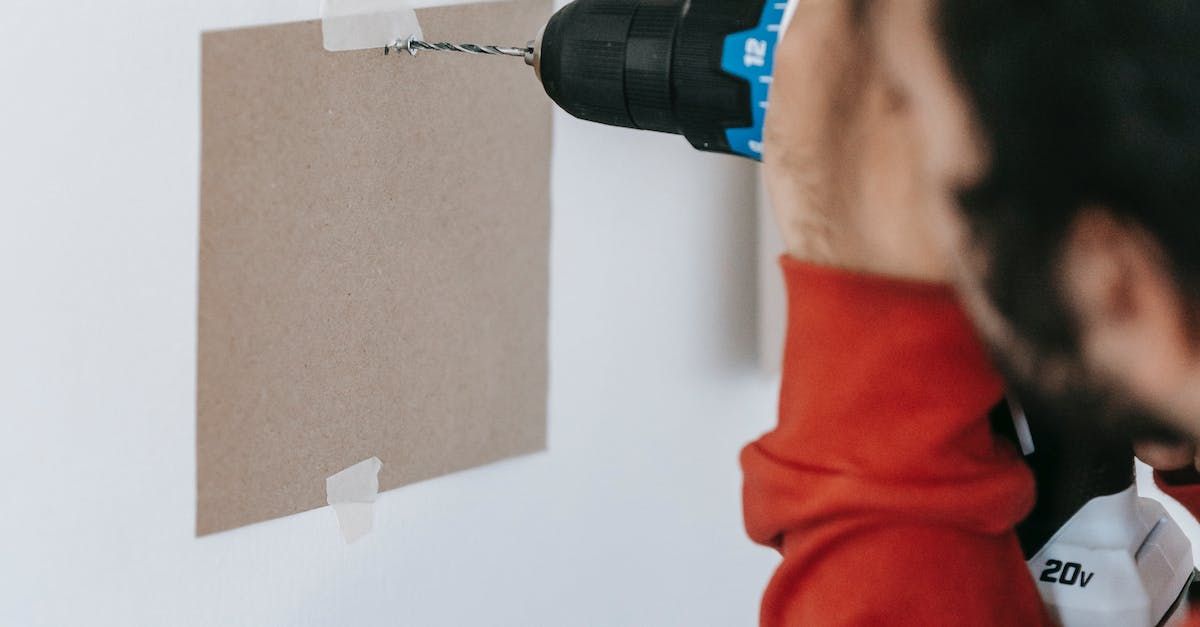
Now comes the heart of the process: patching water damaged drywall. This step requires cutting a new piece of drywall to fit the gap left by the removal process. The new piece is then secured in place with drywall screws, and joint tape is applied along the seams to ensure a smooth, seamless finish.
6. Finishing Touches: Skim Coating and Sanding
With the patch in place, a skim coat of joint compound is applied over the patch and the surrounding area to blend the repair into the existing wall. After drying, the area is sanded smooth, primed, and painted to match the rest of the wall, making the repair virtually invisible.
7. Seeking Professional Help
While many homeowners are capable of handling minor repairs, significant water damage might require professional attention. Searching for "water damage drywall repair near me" can connect you with skilled professionals who can ensure the job is done right, especially if the damage is extensive or if there's a risk of structural issues.
8. Mold Mitigation: A Crucial Step
A commonly overlooked aspect of water damage drywall repair is the potential for mold growth. Even after the visible water damage is addressed, mold spores can linger, posing health risks and compromising the quality of your repair work. To mitigate this risk, it's essential to treat the affected and surrounding areas with a mold-killing solution. This step not only ensures the longevity of your drywall repair but also safeguards the health of your household.
9. Texture Matching: The Key to Invisible Repairs
One of the challenges in repairing water damaged drywall is ensuring that the repaired section blends seamlessly with the rest of the wall. This is particularly important in areas with textured finishes. After patching and sanding the damaged area, replicating the original texture is crucial. Techniques such as stippling, rolling, or using a texture spray can achieve a match that makes the repair indistinguishable from the rest of the wall. Patience and practice are key here, as achieving the perfect match may require a few attempts.
10. The Final Coat: Color Matching and Painting
A flawless repair job is not complete without the perfect paint job. Color matching can be as crucial as texture matching, especially in rooms with unique or vibrant wall colors. Taking a sample of the existing wall color to your local paint store can ensure an exact match. When applying the paint, feathering the edges into the surrounding area can help blend the repair into the existing wall, making the repair work invisible.
11. Regular Maintenance: Preventing Future Water Damage
The best repair is the one you don't have to make. Regularly inspecting your home for leaks, maintaining plumbing, and ensuring proper exterior drainage can prevent future water damage. Paying close attention to areas prone to moisture, such as bathrooms, kitchens, and basements, can save you time and money in the long run.
12. Empowering Homeowners Through Education
Understanding the complexities of water damaged drywall repair empowers homeowners to either take on repairs themselves with confidence or make informed decisions when hiring professionals. Education on the subject can transform a daunting task into a manageable project, ensuring that your home remains a safe and beautiful sanctuary.
Repairing water damaged drywall is more than just a home improvement project; it's an opportunity to protect and enhance your living space. With the right tools, techniques, and knowledge, you can tackle water damage head-on, ensuring your home remains structurally sound and aesthetically pleasing for years to come. Whether you're patching a small section or undertaking a significant repair, remember that your efforts today will contribute to the lasting beauty and safety of your home.
You might also like