Drywall Contractor in Dallas Fort Worth, Texas
Drywall has long been used for home and building interiors because of its durable composition and ability to serve as lasting walls for residential and commercial use. While it’s a long-lasting and efficient alternative to plaster and traditional wall interiors, drywall is relatively affordable and easier to install. We are hands down the best Drywall Contractor in Dallas Fort Worth Metroplex. Sheetrock can not only help reduce noise but is also incredibly fire resistant compared to other building materials. If you decide that drywall is right for you, you’ll need to enlist the services of certified drywall contractors that are available to answer questions and install your drywall to a professional standard.
About us
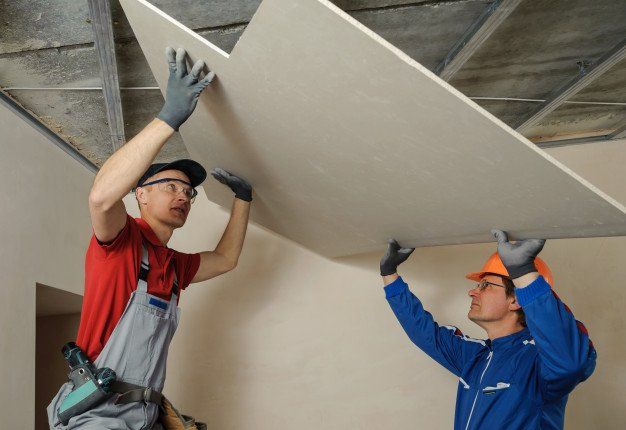
Here at Forth Worth Drywall Solutions, we know that safe and welcoming home interiors are important to you and your family. We take your Sheetrock needs seriously and want to impact your home in a way that makes you positively remember our work and skill. We measure, deliver, and hang drywall for ceilings and walls to ensure that your home is secure by every standard. If you’re looking for other interior services to secure your walls and home, spray foam and plaster may also be great choices for other rooms in the house who’s walls require attention.
Our range of products and services are catered to those that find themselves wanting drywall but unsure of where to start. We make the process of obtaining, repairing, and maintaining drywall easier than ever. While we provide a set list of our specialty services, our expert contractors have experience in a range of drywall-related services that they’re ready to assist you with.
Our Professional Drywall & Interior Services
We know that everyone of your home projects are unique and need to be handled with special care.
Whether you have a hole in your ceiling, remodeling your kitchen, or installing drywall in a new construction, you can always count on Fort Worth Drywall Solutions to take great care of you. We are a professional drywall repair company based in Dallas Fort Worth, TX that offers a host of drywall and remodeling services. You need to be able to depend on a reputable company who is highly experienced and knowledgeable, as well as licensed just like us. If you have never repaired or replaced drywall and plan on doing it yourself just know, this task can be very time consuming and could cost your a lot more than it would to just call a pro. We make the repair or installation so easy for you that you don't really have to think about it. Give us a call today or fill out the form and we'll be in touch and taking care of your problem in no time at all. At Fort Worth Drywall Solutions, we understand the ins and outs of drywall installation, maintenance, and repairs. Drywall is a delicate building material that, when handled by professionals, can transform your home’s interiors. Serving as a great surface material for walls and ceilings, we provide a range of drywall products and services that are designed to enhance the appearance and functionality of your interiors. Included in our range of services is our dedication to quality work and our commitment to providing you the most durable and top standard of drywall and Sheetrock services.
To inquire more about our range of services or to schedule a consultation with one of our contractors for one of our services, we invite you to get in touch with us today. While we currently have a set list of products and services that we offer to our clients in the Fort Worth area, we are always open to offering our assistance with other drywall and Sheetrock-related services. If you’re in need of a service that is not listed, you can still reach us to find out how we can help as one of our seasoned contractors likely has experience in the project you’re anticipating. If we are unable to provide assistance or you are outside of the Fort Worth area, we will gladly refer you to a trusted specialist in your area that can provide further assistance.
At the moment, we offer the following drywall services to the Fort Worth area:

Drywall & Sheetrock Service
Drywall, also known as Sheetrock, Gypsum board, is a building material that is installed as walls and ceilings around the home. Drywall Contractor Near Me has long been used for its durable properties, affordability, and the many variations that it comes in, making it appealing to customers with different preferences for their home. Drywall is cut and built into the frame of a measured space where you’d like to have drywall installed. It is then delivered and hung into the frame to ensure it’s secure. We do not recommend doing this task by yourself unless you have as many years of experience under your belt as we do here at Fort Worth Drywall Solutions. On new properties the county inspector will do his/her best to find any and all flaws in the new Sheetrock that was just hanged. It's our job to make sure everything we install is up to pare and fits all the code regulations to prevent any personally injuries or damage to the property.
Drywall Delivery & Hanging
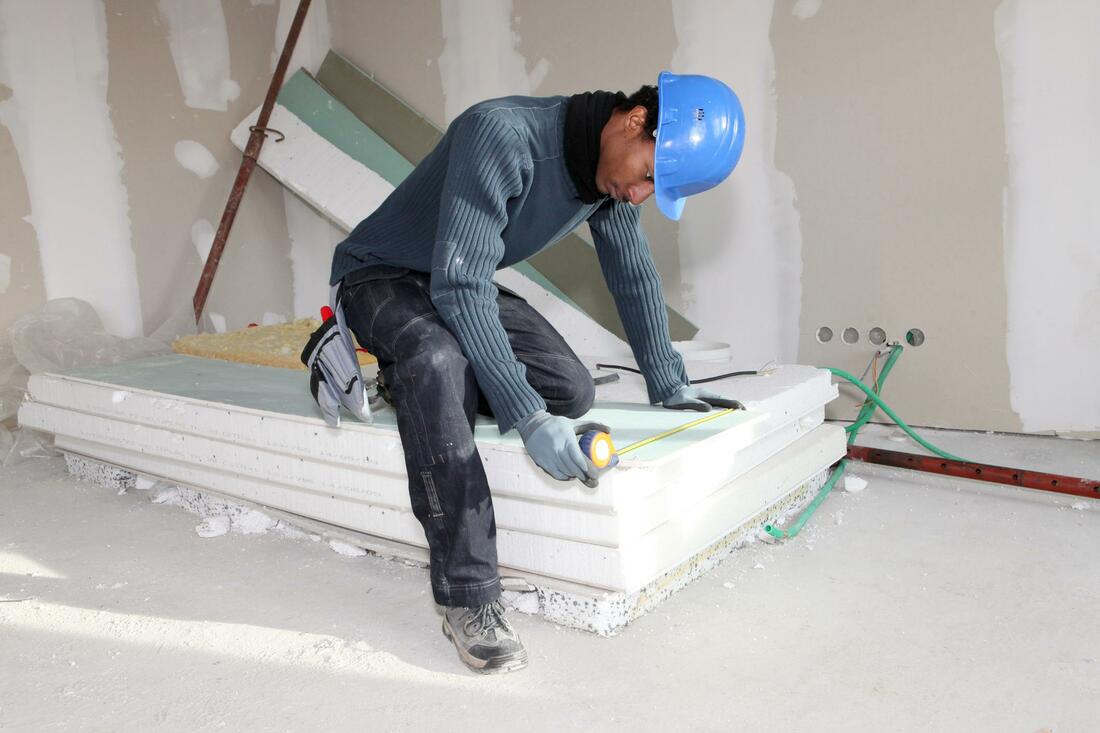
There is much more to drywall than simply installing it and hoping for the best. Sheetrock must be measured and ordered according to a particular size of the frame. After the material has been picked up and delivered successfully, we hang it according to the frame. The panels are then screwed and taped into place and texture is added.
Hanging drywall is not the same as installing studs. The term is often used interchangeably, though they are very different. Drywall, also called gypsum board, drywall tape, or drywall paper, is a thick, translucent sheet of plastic that is applied to the interior walls of a home by means of a roller or a brush. It consists of two layers - the first layer is what is seen when the drywall is applied to the interior wall surface, and the second layer is the actual sheetrock or board attached to the drywall. Both are completely transparent. The first layer serves only as a guide for the handyman as he applies and removes the drywall tape.
For many homeowners who want to hang drywall ceilings in addition to walls, the process involves sawing off the excess sheetrock. The resulting "short strip" will serve as the interior border for the drywall panels. To complete the job, a third strip of extra mud - shaped like a credit card - will be included in the package. And if all goes well, the final product will look as beautiful as it did on the drawing table!
Before attempting to install drywall in a home or any property for that matter, always make sure the studs are completely flat, and clean, smooth, and dry. Prepare the drywall panels by cleaning and smoothing the surface, including the edges, with a soft cloth. Also, be sure to sweep away any built up dirt or dust with a broom or vacuum cleaner, before laying down the drywall. For drywall installation on studs, preparation of the wall surface begins with marking the locations of the screws and nails with pencils. Next, use drywall anchors to hold the studs in place, then drill pilot holes and set a drywall anchor on each stud. A series of two-by-fours should be drilled into the anchor points and countersunk with drywall screws. After the screw holes have been drilled, fasten the drywall anchors onto the studs using drywall screws. This is usually done by attaching the drywall anchors to a two-by-six or three-by-five post and countersunk using drywall screws.
Framing members such as drywall panels, ledger boards, and gypsum board need to be prepared for hanging drywall installation. The framing members need to be measured and ready to position in their spots on the wall. Use a drywall knife with an edge to remove the framing square from the wall. This will allow one to measure the distance between the framing squares and determine where to drill the screws for the drywall anchors. Most framing companies provide a drywall knife with an optional tape measure.
Now that the framing pieces are ready, they should be marked with chalk or drywall tape. Start nailing the drywall screws into the framing members according to the arrangement of the drywall pattern. Anchor the drywall panels at every stud. If you are using gypsum board, mark the gypsum boards to fit into their allotted spots. The drywall nails will then be placed at these locations and screws will be driven securely into the drywall.
Now that the drywall nails are in place, the next step is to install the drywall screws in the gypsum boards. Using a drywall knife with an edge, pull out the nails about half way through the drywall tape. Then using a drywall stapler, nail each nail into its assigned spot. You will want to overlap the nails by at least half an inch to make sure the gypsum board is held securely in place.
Drywall hanging near me Fort Worth, TX can be done on walls around electrical outlets. It can also be done on walls around windows, doors and ceilings. When hanging drywall nails for gypsum board, be sure that they are placed at least six inches from the edge of the stud or drywall.

"I was repainting my son’s room in our house and he wanted a textured wall so I called up the guys at Fort Worth Drywall Solutions to do the job. They applied a wet drywall mixture to the existing drywall to make the area textured, left it to dry, and then applied paint on top of it. My son loves his new room!”
– Charles G
I had been looking to have spray foam my attic for better insulation. The team at Fort Worth Drywall Solutions were very helpful when it came to scheduling the spray foam appointment and the aftercare for our attic. They assured me I would see a change in my energy bills and I did within the first few months!”
– Carey L
When I was remodeling my home, I really needed a drywall contractor to install sheets in our living room. I was so fortunate to have come across Fort Worth Drywall Solutions. They were super friendly and welcoming to my wishes and accommodated to my schedule. Thanks, Forth Worth Drywall Solutions!”
– Andrea R
Drywall Taping
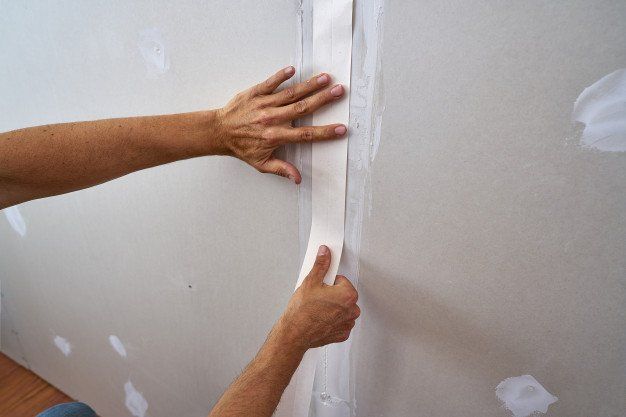
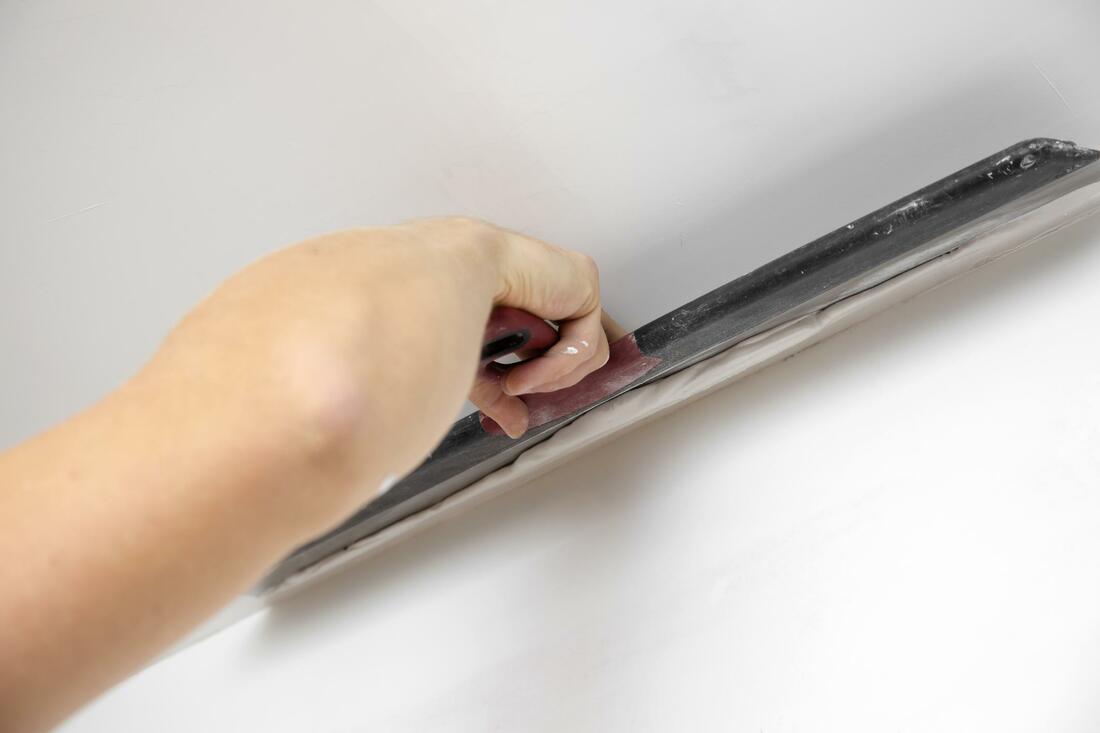
Drywall taping and bedding is the process of sealing the seams between drywall panels. When the seams between the panels are not sealed, the top layer of paint can reveal the seam or crease in between the layers. This is often an undesirable look for homeowners, especially those that have just recently had their homes or drywall renovated. Taping and bedding can be done to older drywall or newer ones to reduce the appearance of the seam. Taping is definitely an important part of drywall construction. This is the process by which the drywall is held to the wall surface with nails or screws. This tape can be made of rubber, carpeting, paper, or other materials. There are several types of tape, depending on its application. One of the most commonly used tape is polyethylene (also known as PE).
The most common applications of tape are to repair holes, such as in shower stalls, ceilings, and doorways. It can also be used to repair the seams of drywall. Another common application of this tape is to mend broken fiberglass in shower walls and ceilings. The type of damage can be repaired using different types of repair tape. This article describes the process of tape and bed fixing for drywall repair.
Drywall Bedding
Drywall taping and bedding is the process of sealing the seams between drywall panels. When the seams between the panels are not sealed, the top layer of paint can reveal the seam or crease in between the layers. This is often an undesirable look for homeowners, especially those that have just recently had their homes or drywall renovated. Taping and bedding can be done to older drywall or newer ones to reduce the appearance of the seam. Before beginning the process of drywall repair, it is important to prepare all the required materials. The most important items needed include drywall tacks, wood shims, drywall knife and chisels, screw gun, masking tape, and tape measure. You should also have some extra material, such as newspaper, to cover broken areas. Cutting the drywall as needed to fit the area can be done with a chisel, but it is easier to cut the pieces with a saw.
Start by nailing the drywall tacks to the wall. Measure from the corner to the adjacent corner and use the tape measure to determine the distances. Cut the material to the size you need. Some drywall has tabs on the back for additional support.
Tape the first panel of drywall to the wall, then the second panel. Mark the drywall with an arrow, so you will be able to know where to place the screws after fixing it. Use a drywall knife to remove the panel to get better access to the drywall. Once you are sure that everything is even, and the drywall is straight, begin installation of the drywall adhesive by cutting the strips of tape to fit the drywall. To fix the tape to the drywall, use a drywall knife to push it into the joint.
Start by taping the side and top of the drywall to the studs in the wall. Secure the tape by using drywall cement. Then take out the trim boards that you just marked with the drywall tape and cut them to fit the edges of the room. Using the same drywall glue and drywall cements, attach the trim boards to the wall. Be sure to overlap the holes so the tacks will hold well.
Now it is time to do the actual installing. The first step is to mark the right spot with the drywall tape and the drywall cements. Marking the right spot will help you avoid placing the drywall in a wrong direction or have a drywall with an offset head. It will also prevent you from over-fitting the drywall. After that, you need to take the tap and drywall tape and stick it to the joint that you marked.
For the next step, you have to unwrap the paper taped joints and insert it into the drywall material. You can then tape it into the cutouts for the sides and top. The finished product should look like the picture on the instructions leaflet. You can add the trims if you want and make the tap slightly smaller than the size of the drywall.
To finish the installation, remove the excess tape from the corners. Use the drywall knife to trim the extra material. You can use a drywall saw to cut the material into the appropriate size holes. Then, you can use the tap and the material as the cutting tool. If you do not know how to hold the tape measure, you can ask some assistance from the kids at home.
Let us forget about the taped joints for now. Instead, you can use the tap that you prepared earlier. You need to place the tape measure at the end of the tap. Make sure the tape measure ends at the same place as the hole. If you do this, the material will be overlapped. You will notice that the tape measure will overlap the measurement before you even finish the measuring process.
You can use the tape measure to ensure that the drywall is laid accurately. However, if you cannot find the tape measure, you can replace the drywall yourself. You may use the drywall adhesive or drywall screws to attach the tape measure to the drywall. Just make sure the drywall holes are aligned properly with the drywall holes.
Drywall Plastering & Finishing
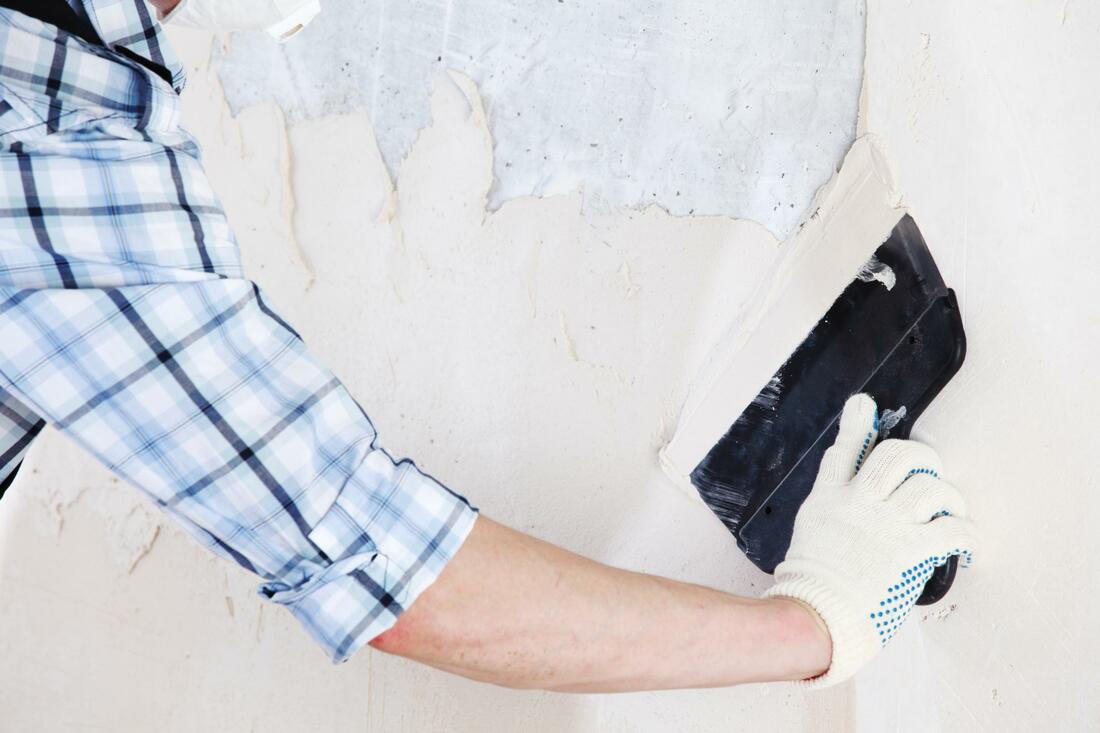
Plastering is the practice of adding a concrete and sand-like mixture to the interior walls that are rough or have uneven surfaces. Plaster helps create a flatter, leveled surface that makes it easier to paint over and more aesthetically appealing. Plaster can also help soften the texture of the walls or ceilings, while also adding a layer of decorative protection to the walls. Plaster is often applied against surfaces brick, stone, or other jagged interiors. Plastering interior drywall ceilings is also our specialty so there is no need to stare at the holes in the living room ceiling or bedroom wall.
Venetian plaster is now known by everyone as one of the more elegant of wall coverings. Many people consider it an art form, since it gives a beautiful result with different textures and styles. However, not all people who like to decorate their homes are aware that there are two different types of Venetian plaster, the drywall type and the stucco wall type. Polished plaster is the term for the finished finish of any plaster and for the general description of modern and new styles of traditional Italian drywall plaster.
Drywall finishing consists of removing the old plaster on the drywall wall and replacing it with a new drywall plaster. Modern drywall finishing techniques are less time consuming than the older methods of plastering. The old methods of plastering required digging through the house and moving heavy sheets of plasterboard. This takes more time and can be messy.
The other type of drywall finishing method is stucco wall coating. This is similar to the drywall finishing, except it is stucco that is used instead of plaster. Stucco is a material that is used to cover the inside walls, attic, and crawl space floors. Stucco is not drywall material.
It has been compared to a pressed paper but has a smooth and flat surface. Many types of stucco wall coating materials are now available including colors and textures. The colors include gray, black, blue, chocolate, and natural stone. The textures include terracotta, glass mosaic, and stone chips. The stucco wall coating will add a level of decorative flair to the room. It can enhance the architectural design of the house. The wall is not only attractive but also provides insulation against sound. In addition to this, it adds an aesthetic beauty to the walls. When it comes to finishes, you have various options such as painting stucco wall coating or stucco wall mural.
As you can see, there are numerous benefits of using this type of plaster for your home. It has great functionality, it is easy to install, and it will give the house a more decorated look. You need to make sure that the plaster that you use for your wall is durable and easy to clean. When choosing a finish for your wall, you have to take into consideration how polished this finish is. A polished finish will last longer and it can make the appearance of your house more impressive. Venetian wall finishes will provide added value to your house if you decide to sell it soon. However, there are some factors that you have to take into account before deciding on the right kind of finish for your wall. First, you have to consider how much the final price of your house is. Next, you should know what kind of decoration you want for your wall.
Once you are done choosing the right Venetian finishing for your house, you can start doing some wall repairs. If there is an existing wallpaper covering the wall then you have to remove it before you begin working. The wall surface must be flat and smooth. It is important to cover the area that needs repair with tape before starting work. Once completed, you can be confident that your house is structurally sound and beautiful. There are several techniques that you can choose from when choosing the Venetian finish for your walls. The first one is the wet look. This finishing style has a wet look, because all the plaster is moist. You have to apply the finishing plaster on top of a base which is also moist. This technique produces a very interesting look.
The next style is dry-set. This finishing style uses drywall finishing nails which are secured to the wall surface. You have to nail the nails into the wall after the surface has been smoothed. The finishing will last for many years if you do not paint it often.
You have to choose the right color for the Venetian finishing. For white walls, you can go for dark colors such as black or dark gray. For the other walls, you can choose any color as long as it matches with the interior design. For the floors, you can go for wood finishes. This way, your home will look sophisticated.
Ceiling Repair
Drywall installation is a relatively simple task when done by an experienced drywall repair contractor. However, there are some basic drywall repair guidelines that every drywall installation company should know about. This information will help contractors avoid costly mistakes and also help you understand the basics of drywall installation. Read below to learn what you need to know about drywall repair and drywall installation.
In general, drywall repair prices range from roughly $233 to more than six thousand dollars for a single job. For small repairs, you could expect to pay as little as fifty dollars. For large or more complex repairs, the price could go as high as one or two thousand dollars. For smaller holes in the ceiling, the average cost for drywall repair is around twenty dollars per square foot. For larger holes, the price goes up to nearly four hundred dollars per square foot.
Drywall repairs usually take just a few hours to complete. While larger jobs, may require several days to mend properly, smaller cracks may be finished in just one day. Large holes, including those that may have resulted from utility lines or water leaks, can take longer to repair because they involve more weight on the patch. This will slow down the rate at which the drywall is installed but it will not affect the quality of the work. The entire process usually takes one day, though some companies offer quick-fix fixes at higher rates.
If you are thinking of hiring drywall installation professionals, there are some important things you should know and consider. Most companies will have some type of insurance, which can protect both you and the contractor if any accidents happen while working on your home. Also, many companies will not take on small repairs. These pros know that it is a good idea to put out the word that you will only accept larger jobs because this way you can be sure that all of the drywall repair holes are properly fixed and no further damage will be done.
Another thing to consider is whether or not the company you hire has received any awards for their work in the past. Hiring professionals near you could mean that you have a great company with experience in fixing large cracks or other types of damage without further damage being done. Drywall companies have been known to repair wallpaper that has become damaged. Sometimes these repairs can be a little costly because wallpaper is delicate and often needs to be replaced.
There are many reasons why people hire drywall repair professionals near their home. For example, if a hole is torn in your drywall but no water has gotten through to the area yet, drywall professionals will be able to quickly repair the problem by using their vacuum and patching the holes. They may also be able to repair a small hole and then fill it with an epoxy substance so that the cracks do not grow. This is especially helpful when the hole needs to be replaced because it can oftentimes be difficult and expensive to replace a small hole. Another reason why people have drywall contractors repair their damaged areas of drywall is because they may not know how to fix smaller problems themselves. They may also not know how to properly replace wallpaper if something were to get damaged.
Drywall professionals can help repair any type of small hole or crack. For example, if you have a leaky pipe behind your drywall, they can often quickly repair the problem. Sometimes these leaks can also cause excess wear and tear in your walls if they are not taken care of immediately. These professionals can quickly patch up these holes or replace deteriorated paint.
If your drywall ceiling or walls have become damaged because of leaks, cracks, or other types of damage, it is important that you hire professionals to help you fix the situation. If you attempt to repair the damage on your own, there is a chance you could make the situation worse. Instead, get the help of a drywall company who can offer you expert advice on what to do next. These companies can also offer you affordable estimates for any drywall repair needs you may have.
Popcorn Removal
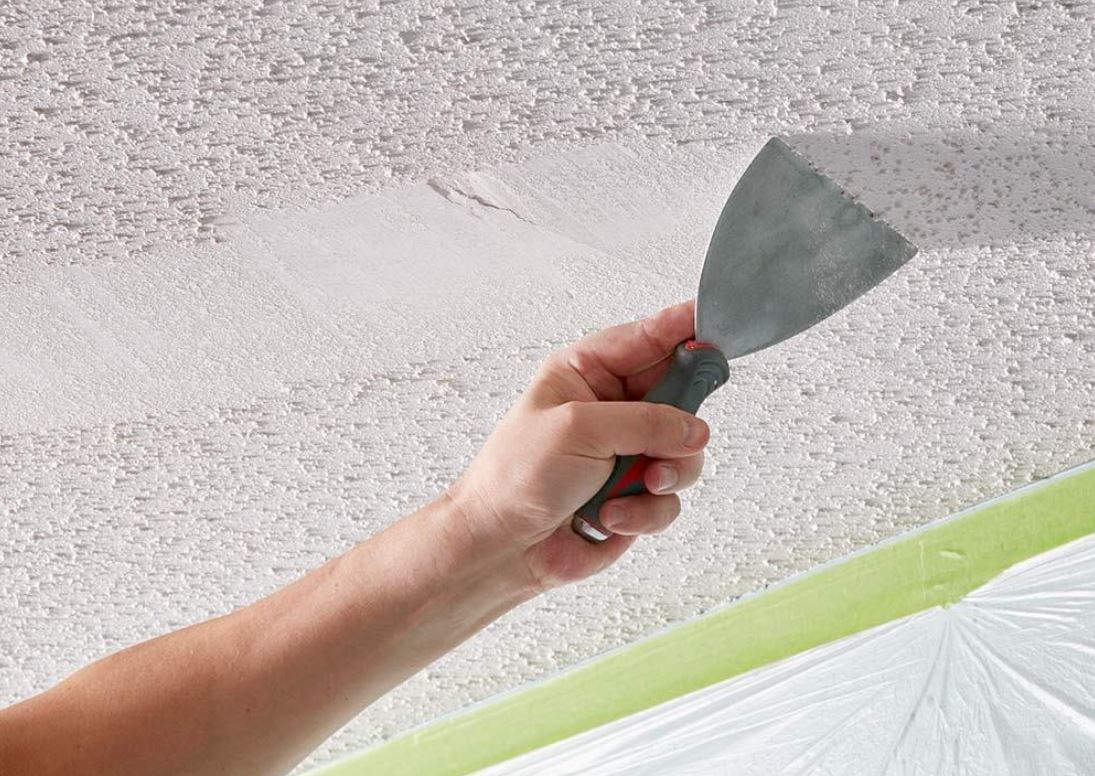
A popcorn ceiling is also referred to as a stippled ceiling, stucco ceiling, vinyl ceiling or acoustical ceiling and stipple-acoustic ceiling. It is made from one or more layers of either polystyrene or vermiculite, that give the ceiling its sound-proofing properties. It is usually put above an open area such as an attic or crawl space. It is typically hung on center springs that bear vertical loads. The actual construction of the pop-up ceiling is called popcorn boarding. A layer of insulation and a vapor barrier are added to provide soundproofing properties as well as insulating properties that reduce sound transfer through the floor, wall framing or ceiling.
The texture of these types of ceilings has evolved over the years to become more interesting than the basic texture of stucco or gypsum textured roofs. Nowadays, popcorn ceilings have been textured in a wide variety of colors and finishes. While the original purpose of popcorn ceilings was for the effective insulation of the attic space, today's versions are used in various other applications. Some examples of applications include gypsum textured floors and walls, roofing shingles and ceilings, concrete forms and other textured surfaces, and the manufacturing of tile and stone textured products.
There are many concerns involved in the proper handling of materials that contain asbestos, including popcorn ceilings. It is essential that this material is handled in a safe manner so that there are no health issues related to the removal of this material. Proper procedures should be followed during the removal of asbestos and all surrounding materials to ensure that there are no health risks. Once the substance is removed from the location where the ceiling is being built, it is essential that it is properly sealed to prevent the re-growth of this substance. In order to get rid of this material and prevent future buildup, you will need to hire professionals who can properly remove it from your popcorn ceilings and paint it.
When you attempt to remove this material on your own, it could prove to be a dangerous endeavor when you encounter asbestos. This material could be damaged if you are not careful while removing it and could result in personal injuries. Additionally, it could result in further environmental hazards if you dispose of the material improperly. When it comes to the installation of the floor and wall finishes, you will need to get assistance from contractors who specialize in this type of work. They will help you to create smooth surfaces by using high quality silicone sealant. If you have already created smooth surfaces by using the silicone sealant, you will only need to apply two coats of paint for a smooth finish. Using a roller or brush, the contractor will then complete the installation of the drywall by applying texture with masking tape and texture primer. Once installed, you can use a rubber texture footer to hide imperfections.
Another option that many homeowners have chosen to hide imperfections on their popcorn ceilings and textured ceilings is to paint them. This option is often less expensive and often less time consuming than hiring professionals to install the finishes. The most common colors used to paint popcorn ceilings and textured ceilings include cream, chocolate brown, white, and tan.
Many homeowners choose to use cream textured paint for their homes because it creates a warmer appeal and more inviting feel to the space. Other homeowners choose to use chocolate colored paint because it gives the room an elegant and sophisticated appearance. If you are interested in having a professional come in and remove the popcorn ceilings or textured ceilings yourself, you may want to consult with the homeowner about how to best remove it safely. If you attempt to remove the material without following the proper steps, you could damage the drywall or the paint. If you have any questions regarding the best way to remove textured ceilings or drywall, you may want to consult a professional.
Professional insulation contractors and engineers will be able to inform you about the best ways to remove the popcorn ceilings without causing any damage to the drywall or paint. Many homeowners are surprised that not all houses contain asbestos. There are certain areas in the United States where the use of asbestos is banned; however, other areas of the country continue to use the material. You should make sure that your home has no visible signs of asbestos.
Interior Painting
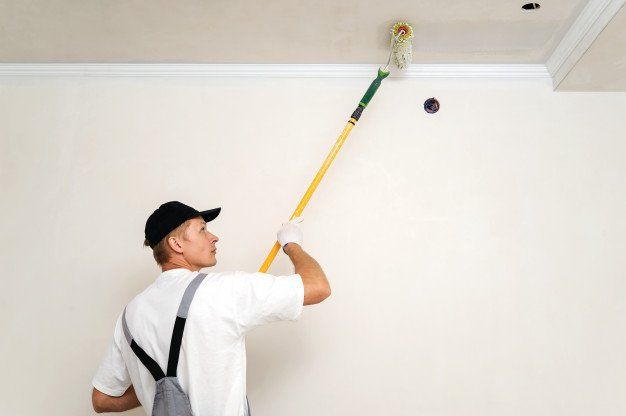
Painting is the final touch to a drywall project. Once the drywall has been set into place and any taping and bedding have been completed, your walls are ready to be finished and painted with the final products. The drywall will need to be sealed using a sealing agent, then a primer, paint, and a paint finish. The type of finish will rely on your preference but is intended to extend the appearance of your paint and drywall exterior. interior painting option is the wet-painting method. With this method, you simply need to wet-paint the walls using a paint sprayer that has a large paint tube. This process doesn't take very long, but you will need to apply the paint using an even coat so it is even. It also takes practice to learn how to apply this paint to your walls in the right way. This method requires the use of oil paints, latex paint, or a combination.
Of course, there are many options available when it comes to painting an interior painting process. The most popular choices include the water-based acrylic and water-based latex paints. These types of paints are usually the most versatile and they provide great results. However, they are also the most expensive. They also require frequent trips to the shop and may require special equipment or utensils to use. Another downside is that they are more difficult to cleanup since they are thicker and take longer to dry.
Oil-based paints are another popular choice for the interior painting process. They provide excellent results and they are less expensive than water-based paints. They are also easy to clean up and cleanup. They can be used on many different surfaces and they are very long lasting.
Mold Remediation & Removal
Black mold, also known as mycotoxins, can make you sick to your stomach. Even if you've never had a mold problem in your home, chances are you've come into contact with some mold while at work or at the store. Some people are more susceptible to illnesses from mold than others are. Those who have allergies, asthma, and sinus problems are particularly vulnerable to the adverse affects of mold. Here are some common illnesses related to black mold:
Mild to moderate respiratory illness is usually the result of mold exposure. White mold should not be confused with efflorescence; instead it is another type of mold that needs to be monitored for its health effects. Efflorescence, a thin, crystalline build up, has a whitish, fluffy look and is often mistaken for white mold when it comes into contact with water. This does not present the same health hazards as black mold.
Getting rid of mold growth can be complicated. First, you must remove any source of moisture to prevent further mold growth. This may require the use of a dehumidifier and fans to increase the overall humidity level. If you have a lot of condensation on the walls, it's likely you have excess moisture. Getting rid of the moisture may mean getting rid of the source of the moisture.
Handling mold yourself can potentially create health effects. Handling mold on a regular basis can worsen existing health problems. A professional mold removal company will use equipment specifically designed to mitigate health effects resulting from mold exposure. Their experience and expertise can alleviate long term or short term health effects related to mold growth in your home and/or workplace. Mold is not only unhealthy, it is also very dangerous to people who are allergic to it. Black mold is known to grow rapidly, take on a yellowish tinge, and can be extremely irritating and even toxic. It thrives in areas where the air circulation is poor and dark. Areas like shower curtains, blankets, towels, clothing, mattresses, furniture and ductwork can all contribute to the growth of this potentially harmful allergen.
Allergic reactions to black mold range from mild to severe and often include breathing issues, runny nose and eyes, rashes, and hives. Some people experience vomiting, dizziness, and chest pains. Most symptoms disappear over time without medical treatment. Those who suffer from an extreme case of black mold exposure should seek medical attention immediately.
Those suffering from serious health conditions such as asthma, lung diseases, and allergies may find that they are more easily exposed to mold than other people. People with pre-existing respiratory problems such as COPD and emphysema, or have recurring respiratory conditions such as bronchitis, are at much greater risk for developing serious mold exposure. People with weakened immune systems are even more vulnerable. People with HIV are also particularly susceptible, because their immune system has been weakened by the virus, making them more susceptible to fungal exposure.
It's important to note that mold causes no serious health conditions directly. However, if the right protective measures are not taken, serious health conditions can result from short-term exposure. For example, a small amount of mold can trigger the onset of asthma attacks. If the sufferer was to attempt to treat their condition, they could worsen their condition instead of healing it. As a result, it's important to take preventative action such as regularly cleaning and disinfecting affected areas and wearing appropriate respiratory protection while mold is present.
One of the primary ways in which people are exposed to black mold is through the building material they are living and working in. Unfortunately, mold can grow in places you might not expect, such as in the drywall or under the carpet. If you have water leakage or sump pump problems in your home, you are at greater risk for developing black mold. If you think there may be mold growing in your house but aren't sure, don't panic. It's important to remember that mold spores can only grow for so long before they die and must seek new surroundings to continue to grow. In fact, mold only grows where there is moisture - any area that is constantly wet or moist is where mold grows best.
Once you've confirmed that you do have a mold allergy, you'll need to take steps to protect your health. If you work in a professional capacity, you may need to take allergy medication in order to minimize your exposure to mold. It's always a good idea to check with your doctor first though, especially if you have a medical condition that could be causing your allergies. Also, if your doctor tells you that you do have a mold allergy, he or she will be able to give you advice on how to best approach your fears. Your doctor may suggest an anti-allergy medication that is actually mold-fighting, or he or she may advise you to simply change your environment so that you aren't constantly being exposed to mold.
Fortunately, once you understand why you are experiencing allergies to mold, you can take steps to avoid them. You'll want to try to avoid areas that are constantly damp or that have a lot of moisture. Ideally, you'll want to seek out a mold-free apartment or condominium. However, if that option isn't available, you'll want to monitor your health closely and ensure that you keep yourself well protected.
Drywall Holes & Patches
There are several reasons why you may need to have drywall repairs performed. One reason is simply fixing a hole that is too large for the drywall tape. Another reason could be patching a drywall hole that is too big for the drywall tape itself. Another reason people seek out drywall repair services is if their drywall holes were caused by water damage. Drywall patching is also needed when patching holes made by water as this could cause the wall to swell and tear apart.
Before you can begin drywall repair, it's important that you have your drywall hole assessed by a professional to determine its severity. If you can fix it yourself, it's great but if not it's best to hire a drywall repair contractor. There are many contractors out there with good knowledge who will fix any drywall repair. The only things you should look for in a drywall contractor are references, licenses, and past jobs. Ask around your community to see if anyone has hired a drywall repair contractor in the past. You can also ask your neighbors how theirs turned out.
When looking to have drywall repairs performed it's also important that you research the right drywall repair contractor to do the job right. If you can't find any references for a contractor or his license in the state that you are in then take your search online. There are numerous websites dedicated to helping consumers like you to find the right drywall repair company for your needs.
Once you have found a few drywall repair companies that you would like to work with it's time to choose a patching method. Do you want to patch drywall holes vertically? Patching the bottom? Patching an entire wall? Each one of these methods has its own pros and cons but if you are going to be patching drywall holes it's best to get an expert opinion on which method is best.
After determining the method that you are going to use for patching drywall holes it's time to move on to the actual repairs. There are basically two ways that you can patch drywall - the floating method and the stick method. If you are doing the floating repair then it's best to use a drywall filler like Styrofoam peanuts. You simply grab the top of the hole and use the peanut butter to fill up the hole and make it stick. If you are doing the stick repair then it's best to use a drywall compound that will stick to the drywall.
Either way will work, you just need to know what to expect from the drywall repair job. One thing I always tell people is to be prepared before starting a drywall repair job as even the most seasoned pros have their day-to-day repairs that they need to be prepared for. The great thing is that if you know what to expect from your drywall repair job you'll be able to fix drywall problems quickly and easily so you won't have to pay for professional drywall repair services in the future.
Home Soundproofing
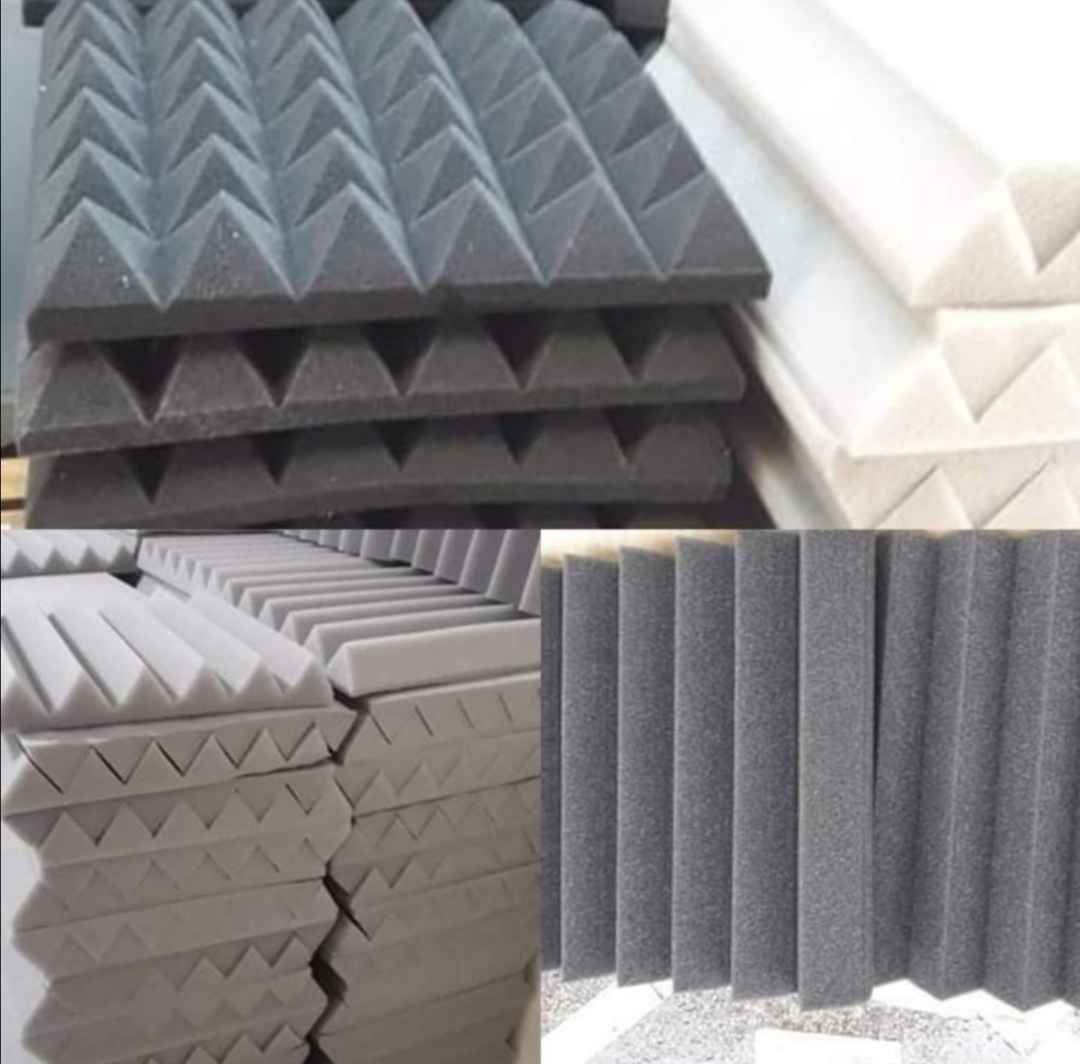
The basic idea of a soundproofing system is that the spaces between the foam layers are empty, so that any sound that strikes the walls will be reflected back into the room. Many people choose to add an additional layer of foam onto their walls for even greater sound absorption ability. Foam is a great material because it's not messy and can be easily cleaned.
While soundproofing with a wall unit can be effective, it does have its drawbacks. A wall unit is fixed onto the exterior of your walls and while soundproofing your walls with drywall may work perfectly fine, you need to make sure your drywall is soundproof. Drywall is not a great insulator and will absorb sound quite well if there are crevices in the drywall.
Another form of
soundproofing
is soundproofing your attic space. Most people don't realize that a closet or some other small space in the attic could be your home's most important soundproofing tool. Loosely fitted sheets of white or clear plastic may be placed over your attic ceiling or over the opening to your attic. In addition, some form of insulating material may be applied on the attic floor as well, such as rolls of soundproof insulation.
Other effective soundproofing methods include installing a sound combination blanket and ceiling and wall barriers. A combination sound blanket is a complete enclosure that traps sound within it, but also keeps the outside noise out. This allows you to reduce the noise transmission from your home's exterior to your home's interior. Soundproofing your attic with a combination sound blanket and ceiling and wall barriers acts the same way that double glazing works to reduce the transmission of noise between your building and the roof. The only difference is that the layer of insulation is not installed directly over your ceiling or walls.
There are a number of soundproofing products on the market today, ranging from sprays, powders and granules to roll-off and foam sheets. If you don't want to spend a lot of time or money on applying these products, there are still other soundproofing options available for you. One of the best soundproofing options available is noise isolation. Noise isolation is done by positioning materials or objects that create a barrier between the sound source and your room. This can be achieved in a variety of ways, including placement of furniture, walls, windows or even sound absorbent materials such as fabric and synthetic foam. With a little research and work, you can find a variety of soundproofing products that will help you reduce noise while increasing the quality of your home.
Insulation Installation
High grade spray foam will save you money.
Many of our clients love the fact that their electric bill
is dirt cheap. On average in a 2500 square foot home, our clients claim their electric bill is around $80.
Spray foam is a liquid form of plastic that is sprayed to walls and ceilings and can add an adhesive layer of protection, strength, and insulation. Spray foam comes in three grades of density from low-density to high-density spray foam, each with their own properties that are beneficial to residential and commercial buildings. Spray foam not only provides more protection to homes and buildings but can also serve as a repair agent by filling cracks, holes, and crevices in walls and ceilings.
Installing insulation is not a do-it-yourself task for most people. In order to maintain your house as energy-efficient as humanly possible, it's essential to get your insulation installed and removed properly on a regular basis. The process of insulating your home with insulation can be quite complicated and poses great risks for the uninitiated or inexperienced homeowner. It is also best to hire an experienced, knowledgeable company for this type of work. That way, you can be sure that the job will be done properly.
There are two types of home insulation, spray tube or roll-off and cellulose fiberglass. Both types can be installed by professional contractors, but there are advantages and disadvantages to either choice. For starters, spray tube is less expensive and usually easier to install by one or two individuals, while cellulose fiberglass is a more labor intensive choice. The main reason for this is because it requires precise measurements to ensure proper fit. It is also known for its tendency to expand when exposed to moisture, wind and air.
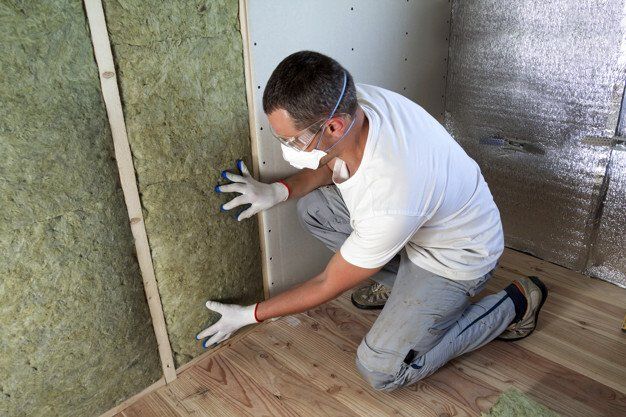
As mentioned earlier, many installations of insulation must be done by an experienced contractor in order to ensure proper fit, proper protection and proper insulation. Whether you are insulating your home from the inside or the outside, the process is usually the same. Attics receive the bulk of insulation so they are often the first place to install something. Usually, insulation installation starts by clipping a length of insulation to the roof's rafters or chimneypiece. The length of the cable or duct depends on the size of the attic and the amount of insulation needed. To protect the insulation, the insulating material is then bundled around the cable or duct.
Before insulation installation can begin, old insulation has to be removed. One way to do this is with a screwdriver or knife edge. However, if insulation installation is being handled on the rafters or other outer areas, the homeowner may prefer to use a blower to remove the old insulation. The blower may be operated via a simple hand crank, but a professional can be much quicker and easier. After the old insulation is removed, the area should be cleaned of any debris.
Once the old insulation is removed, the homeowner will need to decide whether the insulating material is to be applied directly or wrapped around piping, ductwork or wires. If wrapping is to be used, the home owner should apply the insulation installation using a double-faced tape. Homeowners should only apply the insulation installation to areas that are actually in use. Otherwise, the home will become susceptible to moisture damage. In addition, installing insulation to areas that are not in use could increase home heating costs, especially if the homeowner does not make certain the insulation is tightly wrapped.
Once the old insulation is removed, the installer will be faced with the task of installing the new insulation. Installing it properly requires a good grasp of building and home construction. Many people may choose to hire a professional to install the new insulation for them, but some homeowners feel it is less expensive to do the insulating job themselves. Installing attic insulation is no easy task. It is recommended that anyone wishing to attempt to install the new insulation should first read the instructions carefully and practice installing it at least once before attempting to install it in a real life situation.
Once the attic insulation installation is complete, the homeowner should test the installation to ensure all the pieces are tight together. If not, the installer should add additional tape along the bottom and side seams of each batt. If there is a discrepancy, the extra tape should be added where it is needed to fill in the gap. Installing insulation in a home can reduce energy loss by up to forty percent. The extra insulation can also help reduce a home's overall heating or cooling costs. In addition, insulation reduces the formation of mold and can enhance the resale value of a property.
Free Drywall Repair Estimates
Many times, construction project managers and
drywall companies near me choose not to offer free estimates because it takes them too long to prepare the estimates or to find contractors that will agree to do the work. This is why everything we do here at Fort Worth Drywall Solutions is in house, including our teams and estimators. When you call us today at
817-717-4813 we can quote you over the phone for smaller projects such as holes and patch jobs. If you have pictures please send those as well. Feel free to fill out our instant quote form that we will receive on our end. There is also our chat bot in the bottom right corner with Kyle's face. There you can schedule a call, send us a SMS or email. We want to make this process super easy and simple for you. There is zero cost to you for us to come to your property and do an estimate. See you soon!
Contact US
To learn more about our current range of products and services, you can get incontactwith us via the telephone number listed on our website. On this number, one of our customer service agents will be more than happy to assist you by answering any questions or scheduling appointments for your drywall, as needed. If you would rather write us an email or would like to receive an estimate for a service you’re interested in, at no extra cost, you can do so by filling in the contact form on our website and we’ll respond to you as soon as possible. Our drywall contractor company offer services on multiple locations.
Visit our blog page to explore in-depth information and insights about the wide range of services our skilled experts offer. Learn how they can cater to your specific needs with their expertise and experience.
Working hours
- Mon - Sun
- -
Copyright ©Fort Worth Drywall Solutions | Proudly Powered by Snapps | SEO
