Achieve Perfect Walls With Seamless Sheetrock Finishing Techniques
Master Sheetrock Finishing Techniques: Seamless Walls for a Flawless Interior Look
Creating smooth and flawless walls in your home or commercial space starts with mastering sheetrock finishing techniques.
Whether you're hiring professional sheetrock contractors or taking on the job yourself, achieving seamless walls is essential for a polished look.
This article will walk you through key techniques for perfect sheetrock finishing, discuss the importance of sheetrock repair, and cover ceiling sheetrock repair.
Let's explore the world of sheetrock, wallboard contractors, and achieving a pristine finish in every room.

Why Seamless Sheetrock Finishing is Important
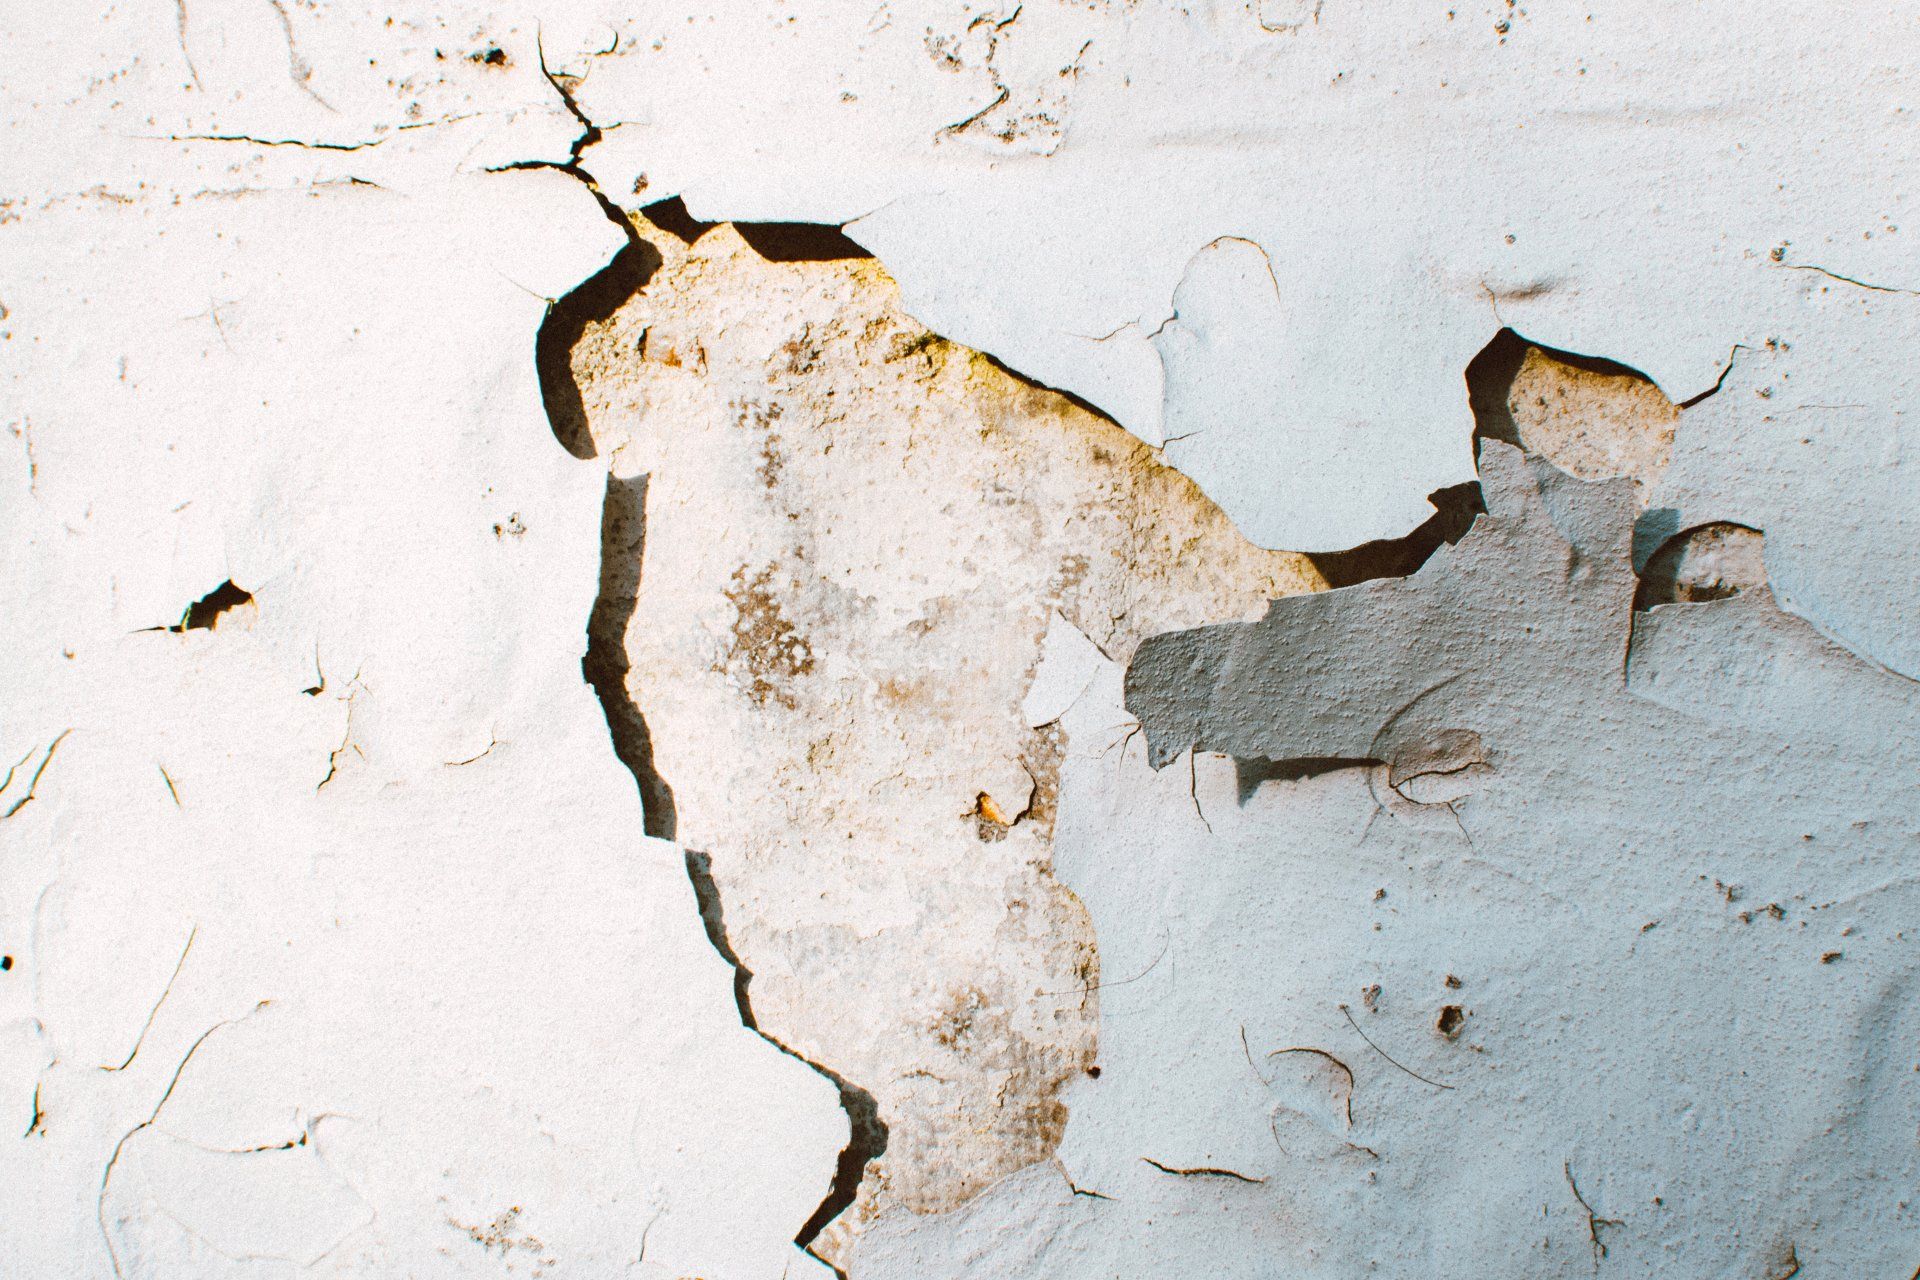
The walls of your home are one of the most visible elements of any room. Imperfect walls, such as uneven surfaces or poorly finished seams, can detract from the overall aesthetic.
In contrast, smooth, seamless walls create a clean, professional appearance that elevates the space.
Seamless sheetrock finishing techniques ensure that seams between sheetrock panels disappear, leaving a flawless surface.
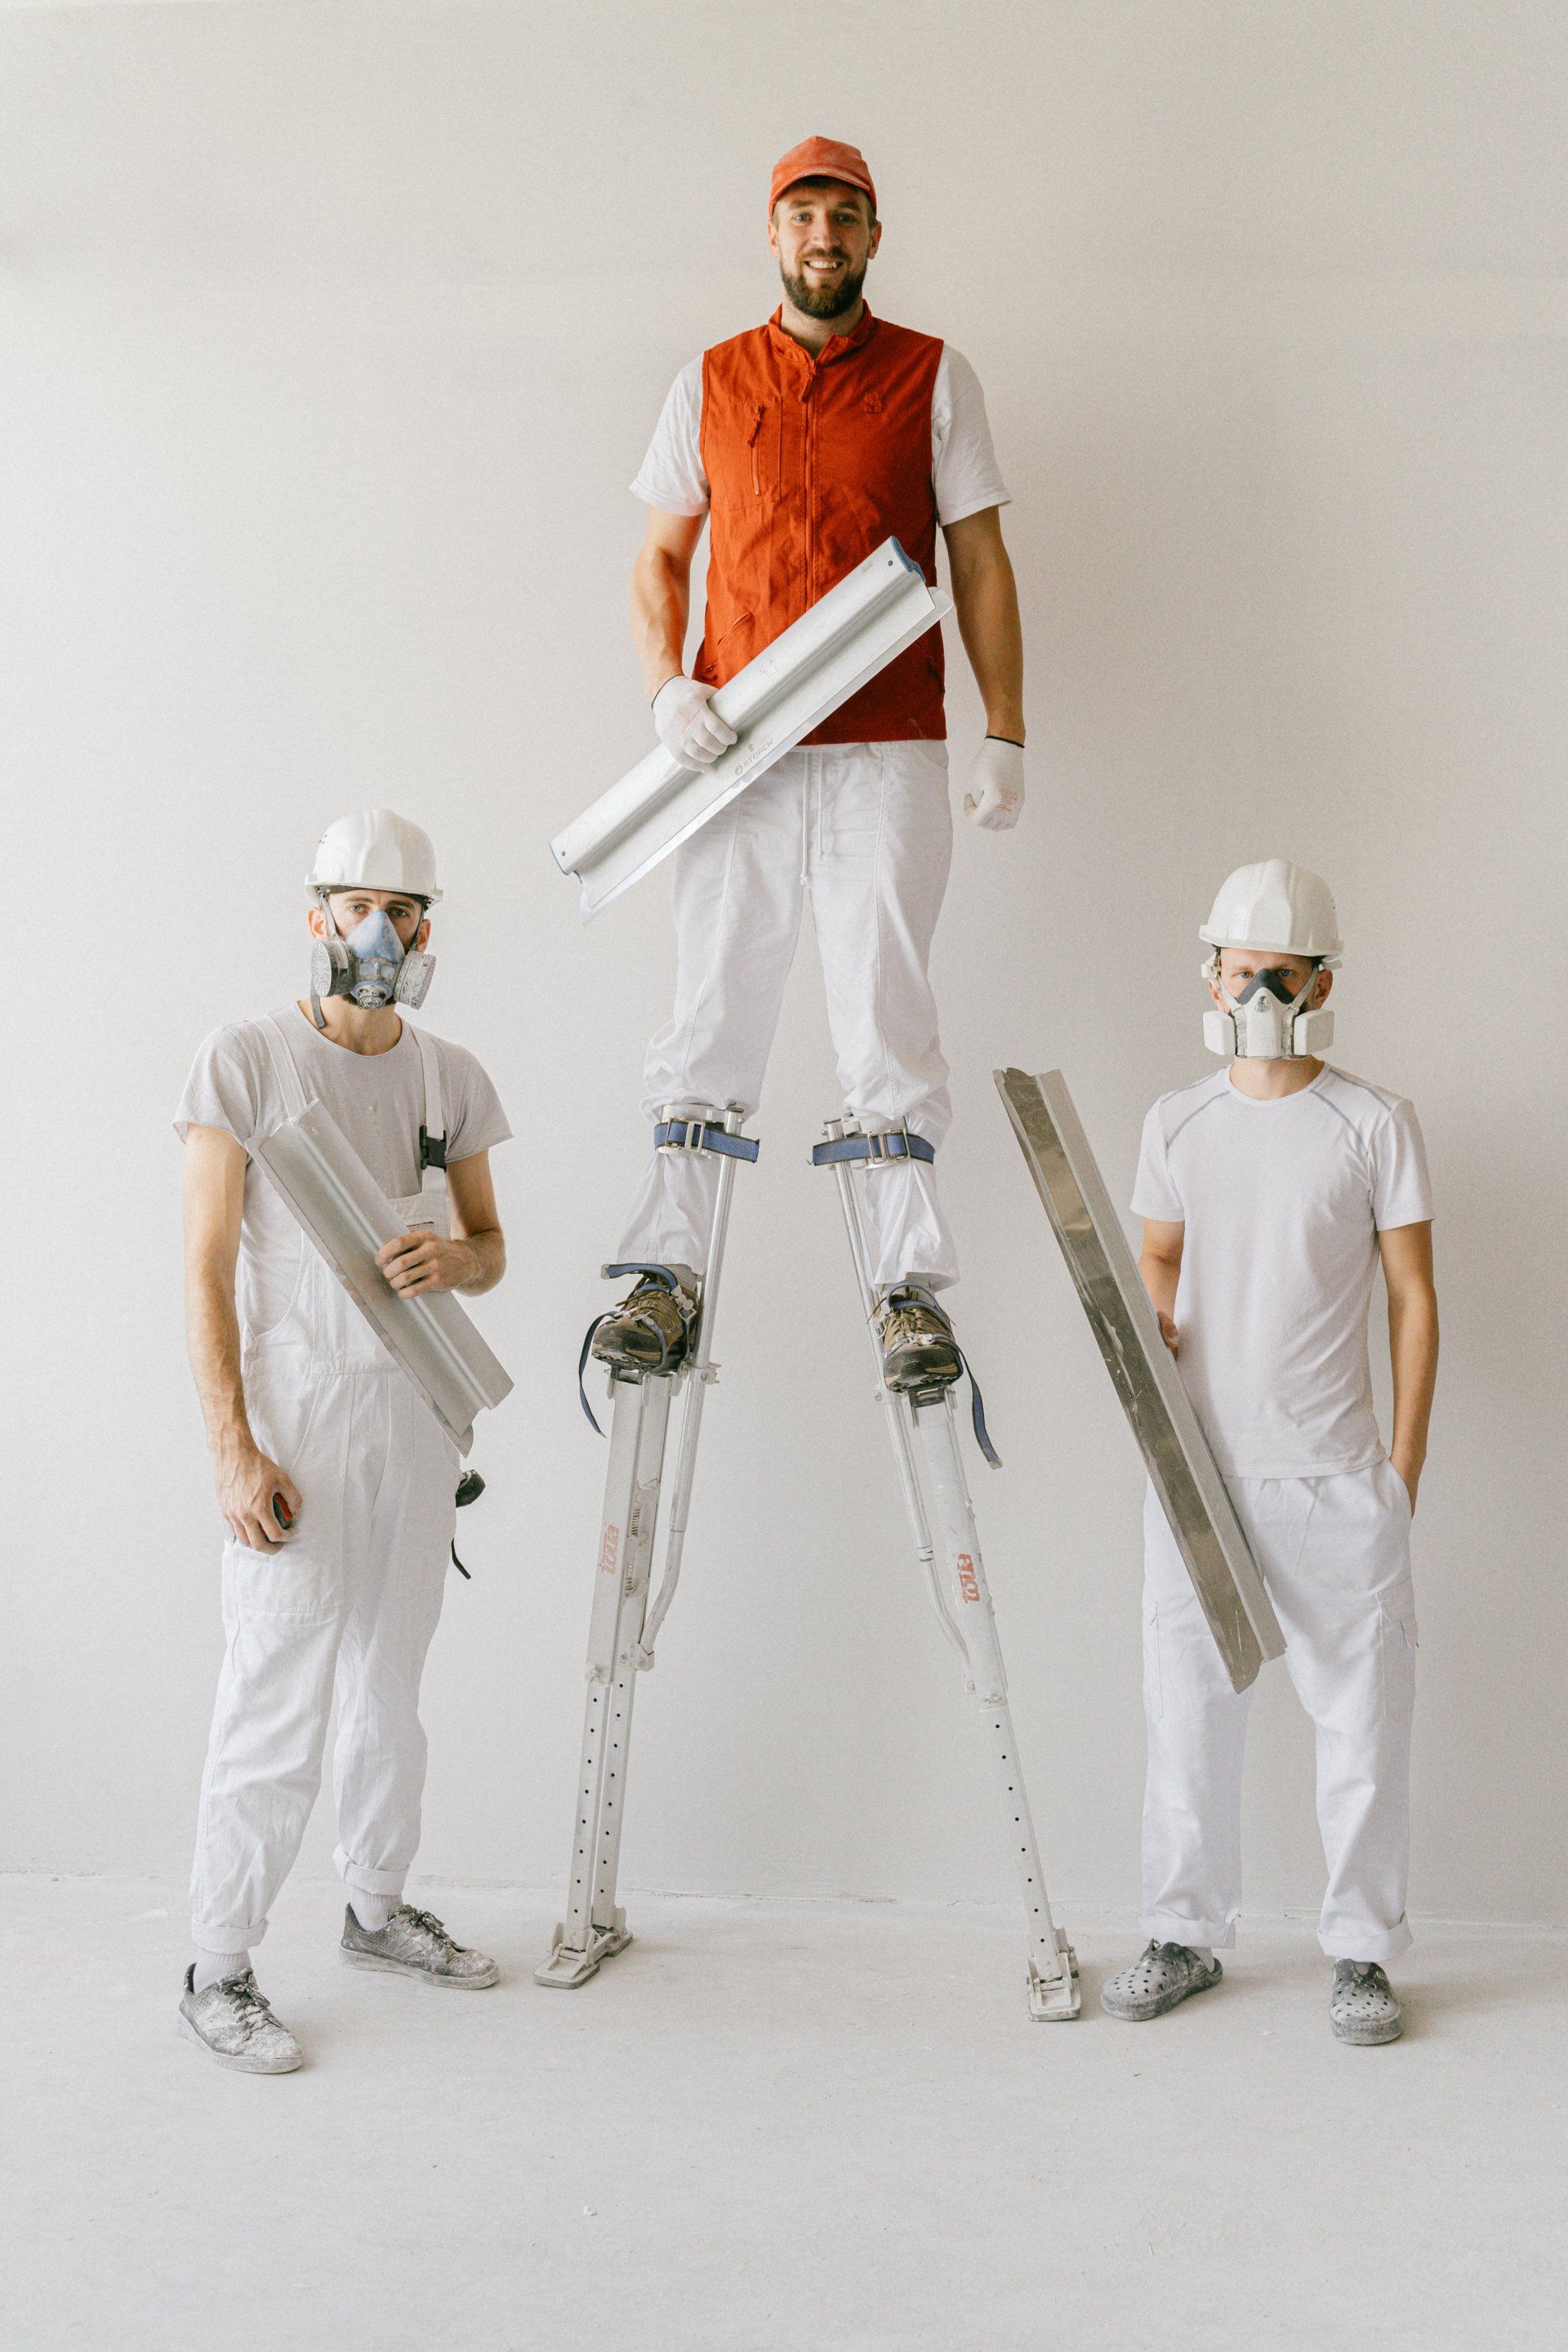
This is where hiring skilled sheetrock contractors can make a significant difference, as they have the tools, expertise, and experience needed to execute the job perfectly.
However, for DIY enthusiasts, understanding the correct steps and methods can help achieve professional-grade results.
Step-by-Step Guide to Seamless Sheetrock Finishing
Whether you're working on new installations or performing sheetrock repair, following the right steps is essential to success. Here's a step-by-step guide to achieving perfect walls.
1. Preparation: Inspect and Plan
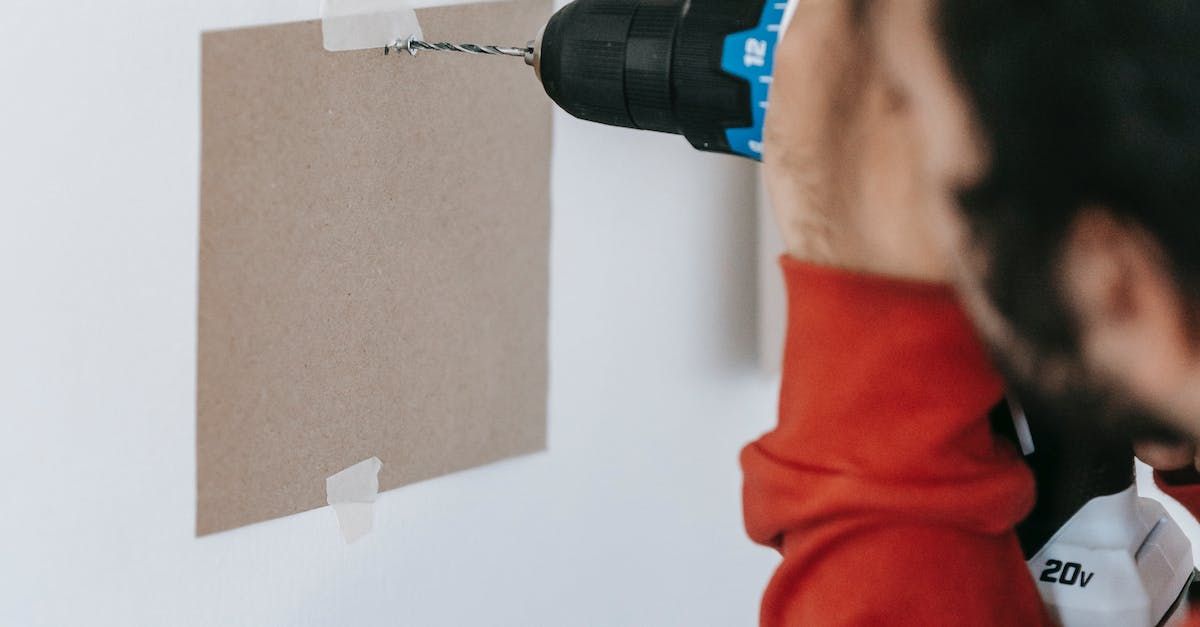
Before diving into the finishing process, preparation is key. For new construction, ensure all sheetrock is securely fastened to the studs. Check that all screws or nails are properly sunk into the surface of the wall to avoid bumps.
For sheetrock repair, begin by assessing the damaged area. Remove any loose material, and if you're dealing with holes, fill them with a patch or joint compound. If the damage involves the ceiling, you'll need to look into ceiling sheetrock repair, which may require additional steps like supporting the damaged section before patching.
2. Apply Joint Tape
After inspecting your walls and ensuring everything is secure, the next step is to apply joint tape to the seams between sheetrock panels. There are two types of joint tape:
- Paper tape: Commonly used for its strength.
- Mesh tape: Easier to work with and self-adhesive but less strong than paper.
For high-traffic areas or places that may experience stress, like corners, sheetrock contractors often recommend paper tape because of its durability.
3. Apply Joint Compound (Mud)
Once the joint tape is applied, the next step is to cover it with joint compound, also known as mud. This compound comes in different types, including fast-setting and all-purpose versions. The goal is to embed the tape in the compound and smooth it out to create an even surface.
To do this:
- Use a 6-8 inch drywall knife to apply the first layer of joint compound over the taped seams.
- Feather out the edges to blend the mud with the surrounding sheetrock.
- Allow the first coat to dry completely (typically overnight).
4. Sanding Between Coats
Once the first coat of joint compound is dry, it's time to sand the area to smooth out any ridges or imperfections. Using a fine-grit sandpaper, lightly sand the dried compound. Be careful not to sand too much, as this can expose the tape underneath.
After sanding, apply a second coat of joint compound, using a wider knife (10-12 inches) to further feather the edges and smooth out the seams. Repeat the sanding process once the second coat is dry.
For ceiling sheetrock repair, sanding is crucial to maintaining an even surface, especially since ceilings are more visible in terms of lighting. A smooth ceiling surface adds to the overall polished look of the room.
5. Finishing Touches
Once you've sanded the second coat, inspect the walls and ceiling for any remaining imperfections. For a truly seamless finish, some professionals recommend a third thin coat of joint compound. Once the final coat is dry and sanded, your walls are ready for priming and painting.
6. Priming and Painting
Proper priming is essential before painting. Primer helps the paint adhere better to the walls and ensures an even finish. After priming, you can proceed with painting, knowing your walls are perfectly smooth and ready to showcase the color of your choice.
Sheetrock Repair and Ceiling Repair Techniques
Whether you're repairing a hole in the wall or tackling ceiling sheetrock repair, the process of repairing sheetrock involves the same core techniques as finishing. Properly filling in gaps, cracks, or holes with joint compound and sanding down the surface can make the damage nearly invisible.
For ceiling repairs, additional care is needed due to gravity. Ceiling sheetrock repair might involve using a drywall lift or supports to hold new sheetrock in place, followed by the same taping, mudding, and sanding process used for walls. Ensuring a seamless finish on a ceiling not only improves aesthetics but also enhances the overall structural integrity.
Hiring Professional Wallboard Contractors
While DIY sheetrock finishing is certainly possible, hiring professional wallboard contractors is often the best choice for larger or more complex jobs. Experienced contractors can handle tricky areas like ceilings, corners, and large seams more efficiently, ensuring a high-quality finish that will last for years.
Professional sheetrock contractors also have access to specialised tools and materials that can make the job easier and deliver better results. Whether you're looking to repair damage or install new drywall, contractors bring a level of expertise that guarantees the best outcome. If you still want to do it yourself, check out this amazing blog as well on mastering drywall finishing.
Conclusion
Achieving perfect walls with seamless sheetrock finishing techniques is within reach, whether you're handling the job yourself or working with sheetrock contractors.
By following the proper steps—preparation, taping, applying joint compound, and sanding—you can create smooth, flawless walls ready for painting or decoration.
For more extensive jobs or repairs, particularly ceiling sheetrock repair, consider hiring professional wallboard contractors to ensure a seamless, high-quality finish.
You might also like